Generating images for content in NEURONwriter – simply and effectively.
Thanks to NEURONwriter, you can easily create not only great texts but also unique graphics generated by artificial intelligence.
You no longer need to search for images in stock banks or commission their design—just a short description, and the system will create an image that matches your content. It’s convenient, fast, and saves time and money.
What is the AI Image Generation feature?
A short description is all it takes for NEURONwriter to generate an image that fits your content. It’s a great way to enrich articles and attract readers’ attention with an interesting visual presentation.
The images are created based on the text’s context, ensuring they perfectly align with the topic and enhance the message.
You also have the option to edit the description to better match the image to your style or specific needs. It’s truly a convenient solution for anyone who wants their content to look professional and engage their audience. :If your site relies on a large media library, an AI image organizer can help keep these assets properly categorized before you begin optimizing them.
ℹ️ Neuronwriter FAQ – AI Image Generation.
Benefits that will change your approach to content creation.
Why should you use NEURONwriter with the AI Image Generation feature?
✅ Create graphics in minutes – no more wasting time searching for illustrations online.
✅ Ensure professional content appearance – your publications will look modern and attractive.
✅ Capture readers’ attention – well-chosen images keep users on the page longer.
✅ Improve SEO ranking – images with appropriate descriptions help your content’s visibility in Google.
✅ Show creativity – experiment with styles and build a recognizable brand.
How to use the AI Image Generation feature step by step?
Here’s how you can quickly do it with NEURONwriter:
1️⃣ Open the NEURONwriter editor – Start with the article you’re working on. Open it in the editor and make sure you’re ready to add an image.
2️⃣ Highlight a text fragment – Select where in the article you want to add an image. It could be, for example, a paragraph discussing the benefits of meditation for mental health.
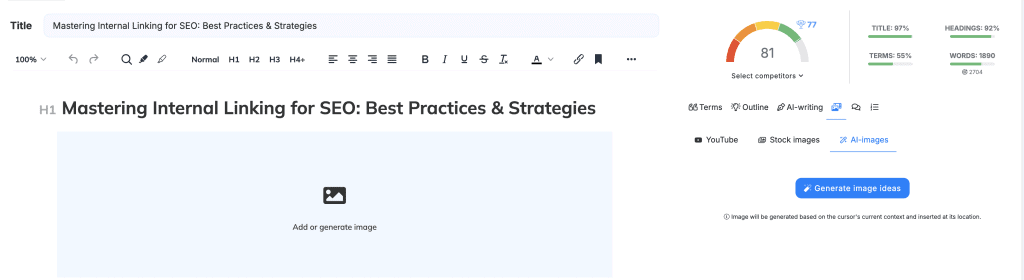
3️⃣ Go to the “AI Images” tab – On the editor’s sidebar, find the “AI Images” tab and click it to access the image generation section.
4️⃣ Click “Generate image ideas” – The system will automatically suggest several image ideas matching your content.
5️⃣ Choose style and proportions – Adjust the image appearance to your article. For example, if you want the graphic to be more elegant and professional, select a minimalist style and appropriate proportions (e.g., landscape or portrait).
6️⃣ Generate the image – After selecting the style and proportions, click “Generate image.” The system will create a graphic based on the provided description and selected settings.
7️⃣. Add the finalized image to your article – Once the image is generated, click “Use image” to insert it into your article. Done! Now your article has a unique graphic that perfectly matches the topic.
🔹 To better understand how the “AI Image Generation” feature works in NEURONwriter, you may want to watch the following tutorial video:
💡 Additional Information
- Cost of image generation: Each generated image costs 200 AI credits.
- Using custom API keys: Users with the Gold plan or higher can use their own OpenAI or Anthropic API keys for better control over costs and credit usage.
Summary
Thanks to the AI Image Generation feature in NEURONwriter, working with content becomes much easier. You can quickly create well-designed images for your texts without needing graphic design knowledge. It’s truly simple to use!
You no longer need to rely on dull, overused photos from free stock banks. With NEURONwriter, you can create unique graphics tailored exactly to your content.