The Content Designer is a powerful feature that enables users to create professional-quality articles in minutes, combining advanced NLP recommendations with AI-generated content. This tool is ideal for creating comprehensive, full-length articles.
Acting as a creative assistant, the Content Designer guides users through quick steps to generate a compelling title and description, a structured document with H1, H2, and H3 headings with incorporated NLP terms and enriched article with additional elements like image placeholders, bolded key terms, extracted facts, information from project settings – AI-Profile and Brand voice.
How to use Content Designer?
Activate “Content Designer” in the Content Editor.
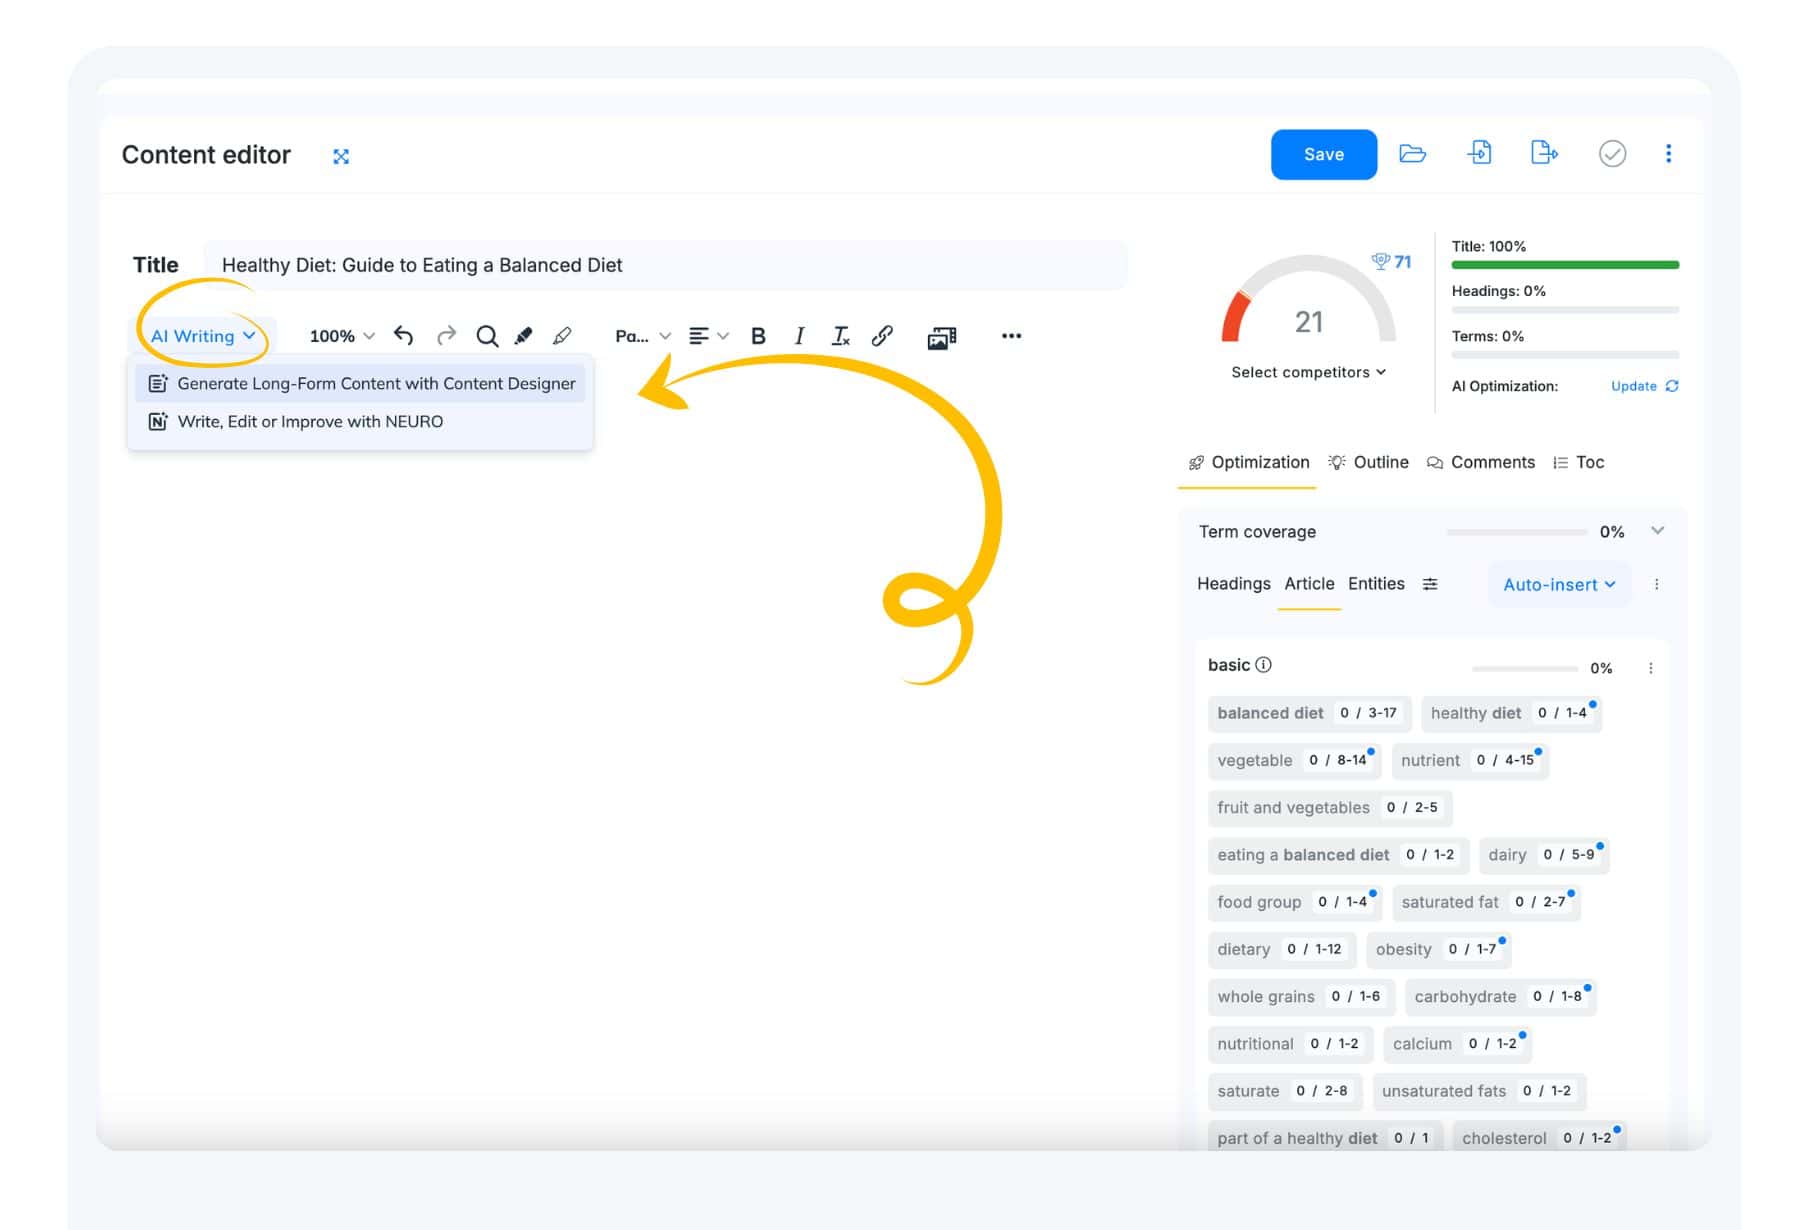
To begin, simply click the AI Writing button in the Content Editor’s toolbar. You will find two primary tools available Long Form Content Designer and NEURO Assistant.
Content Designer – This option is particularly suitable for users seeking professional-grade results with streamlined workflows.
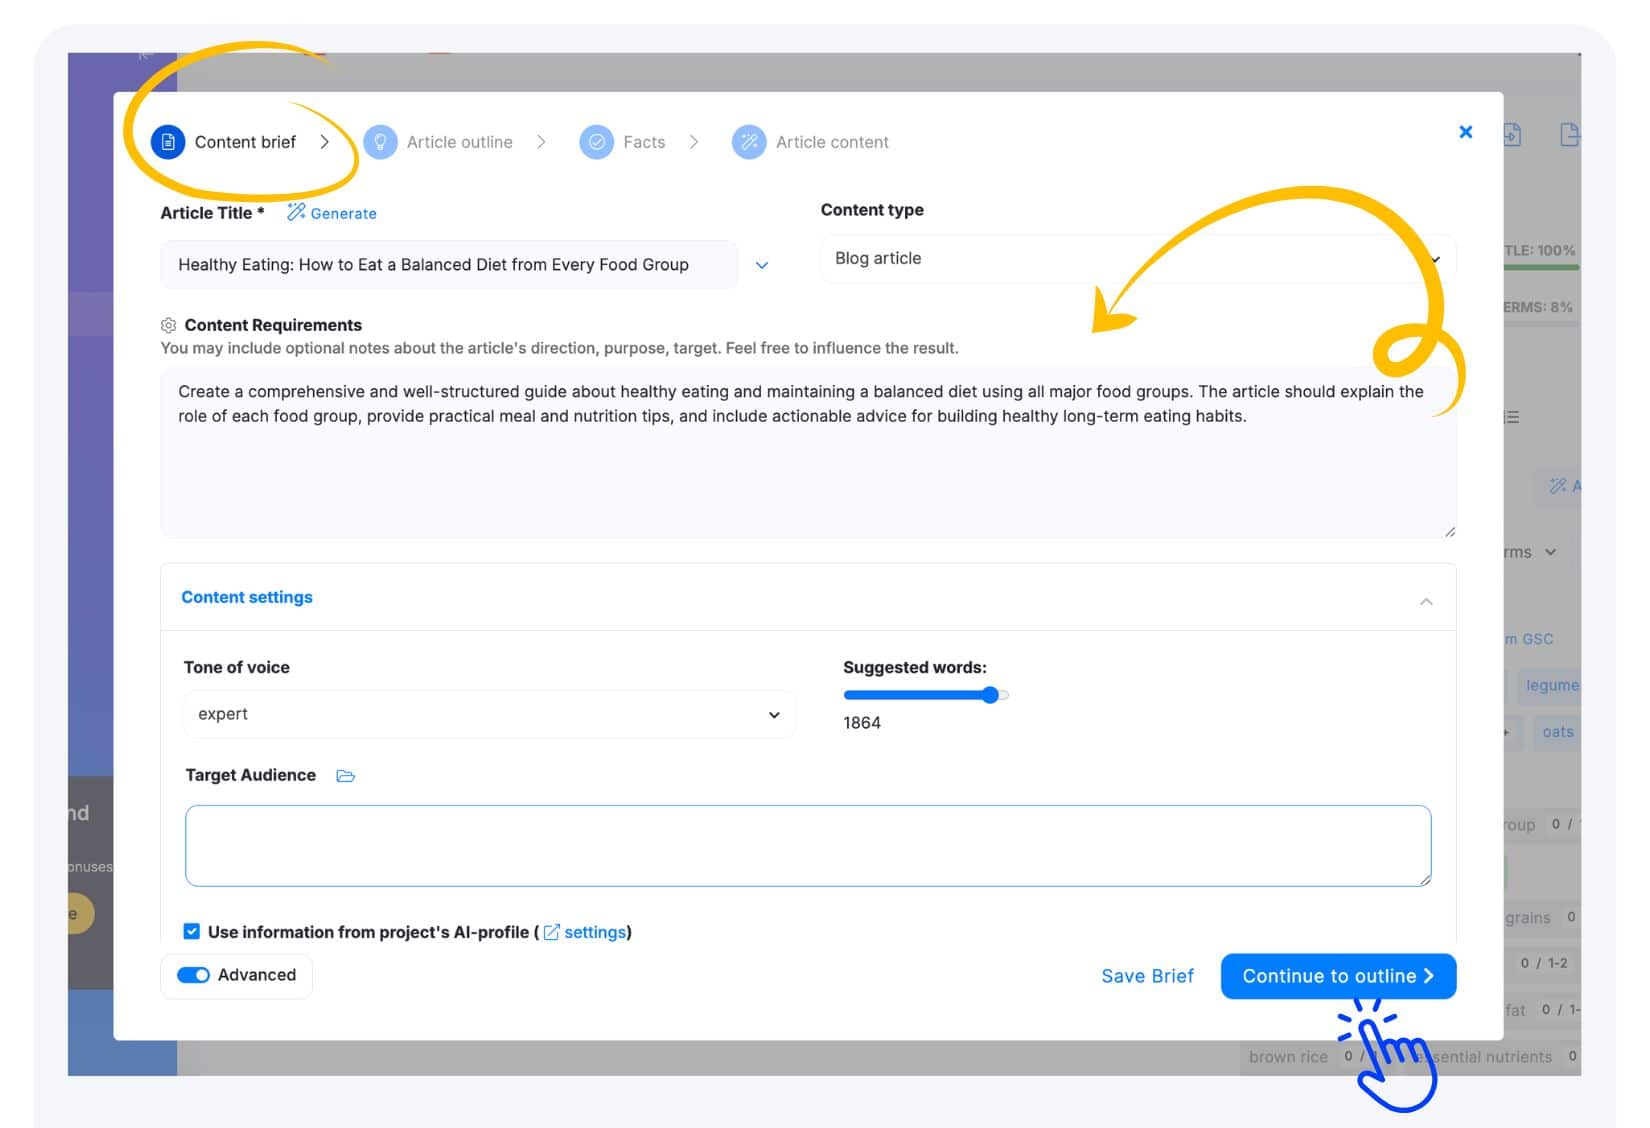
1. First step: Content brief.
In the Content Brief view you can define the following details:
– Modify meta title and meta description – These are autofilled from the Editor, but you can change them if they’re not suitable. Suggested terms that should be used are highlighted in green.
–Choose your preferred “page type” style – Select from available templates like: Article or Landing page
– Use the content requirements – add more instructions for AI – simply provide additional guidance for your future article.
– add more details using data from the AI Profile like Target Audience.
– Add Tone of Voice.
– Select Lenght of text.
– Enrich content by additional elements in the Advanced settings:
- Image placeholders
- Bolded key terms (in plans)
- Rich formatting (lists, quotes, headings) (in plans)
- Consider information from project settings – AI-Profile and Target Audience.
Next clicking “Continue to Outline” will take you to the generated article outline.
2. Second step: Smart, automated “Article Outline”
Review the generated article outline, adjust, and optimize it using the proposed sections on the Outline sidebar:
“Smart headings” – add suggested H2 headings that covered more unused terms and improve the outline.
“Competition” – preview competitive content headings.
“Questions” – use related questions ideas as a headings in the article.
“Terms” – incorporate more terms manually into the headings.
When your outline is ready, proceed to enhance your future article with facts by selecting ” Add facts to the outline“

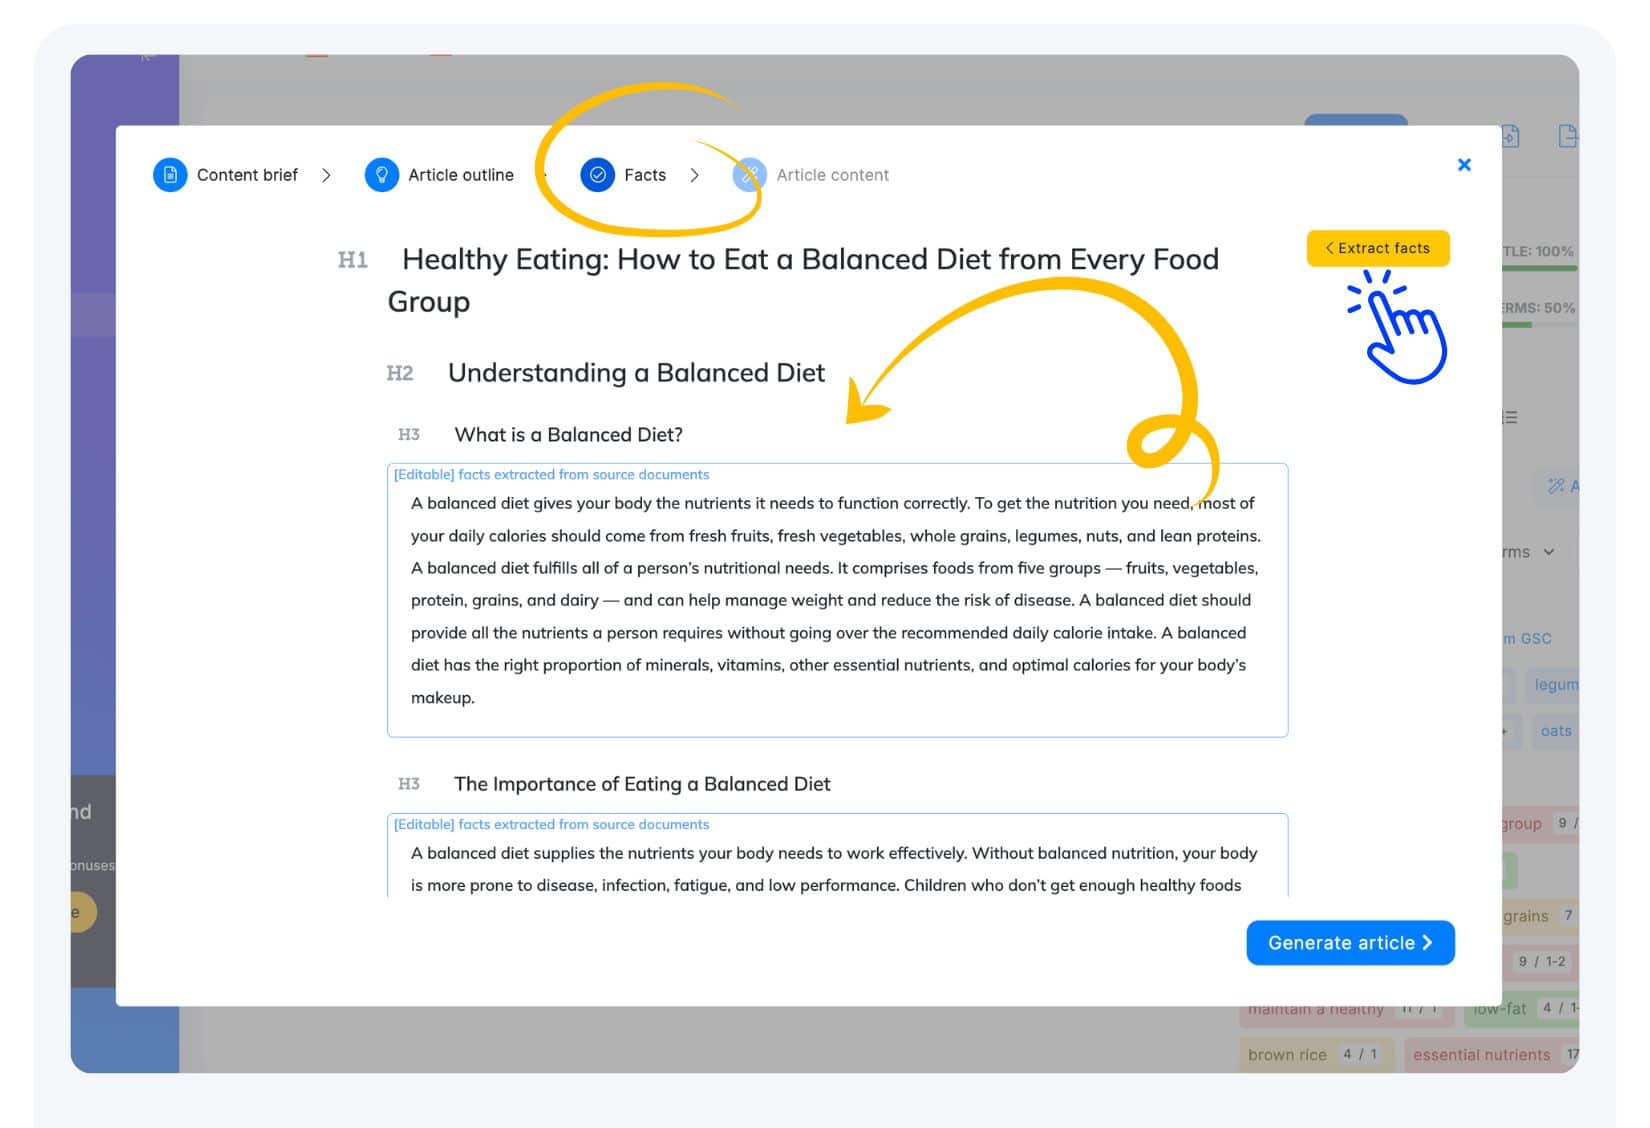
3. Third step: Facts.
Once the outline is ready, you can enhance your AI-generated content by extracting facts from credible sources.
Available source options:
- Relevant URLs – competitor websites or your own URLs (up to 5 URLs)
- Uploaded documents – up to 3 documents, 2 MB each, in .pdf, .txt, or .docx formats
- Plain text – up to 100,000 characters
Note: Each fact extraction iteration costs 500 AI credits.
AI automatically match extarcted facts from your sources with the suitable sections.
Review extracted facts for your outline.
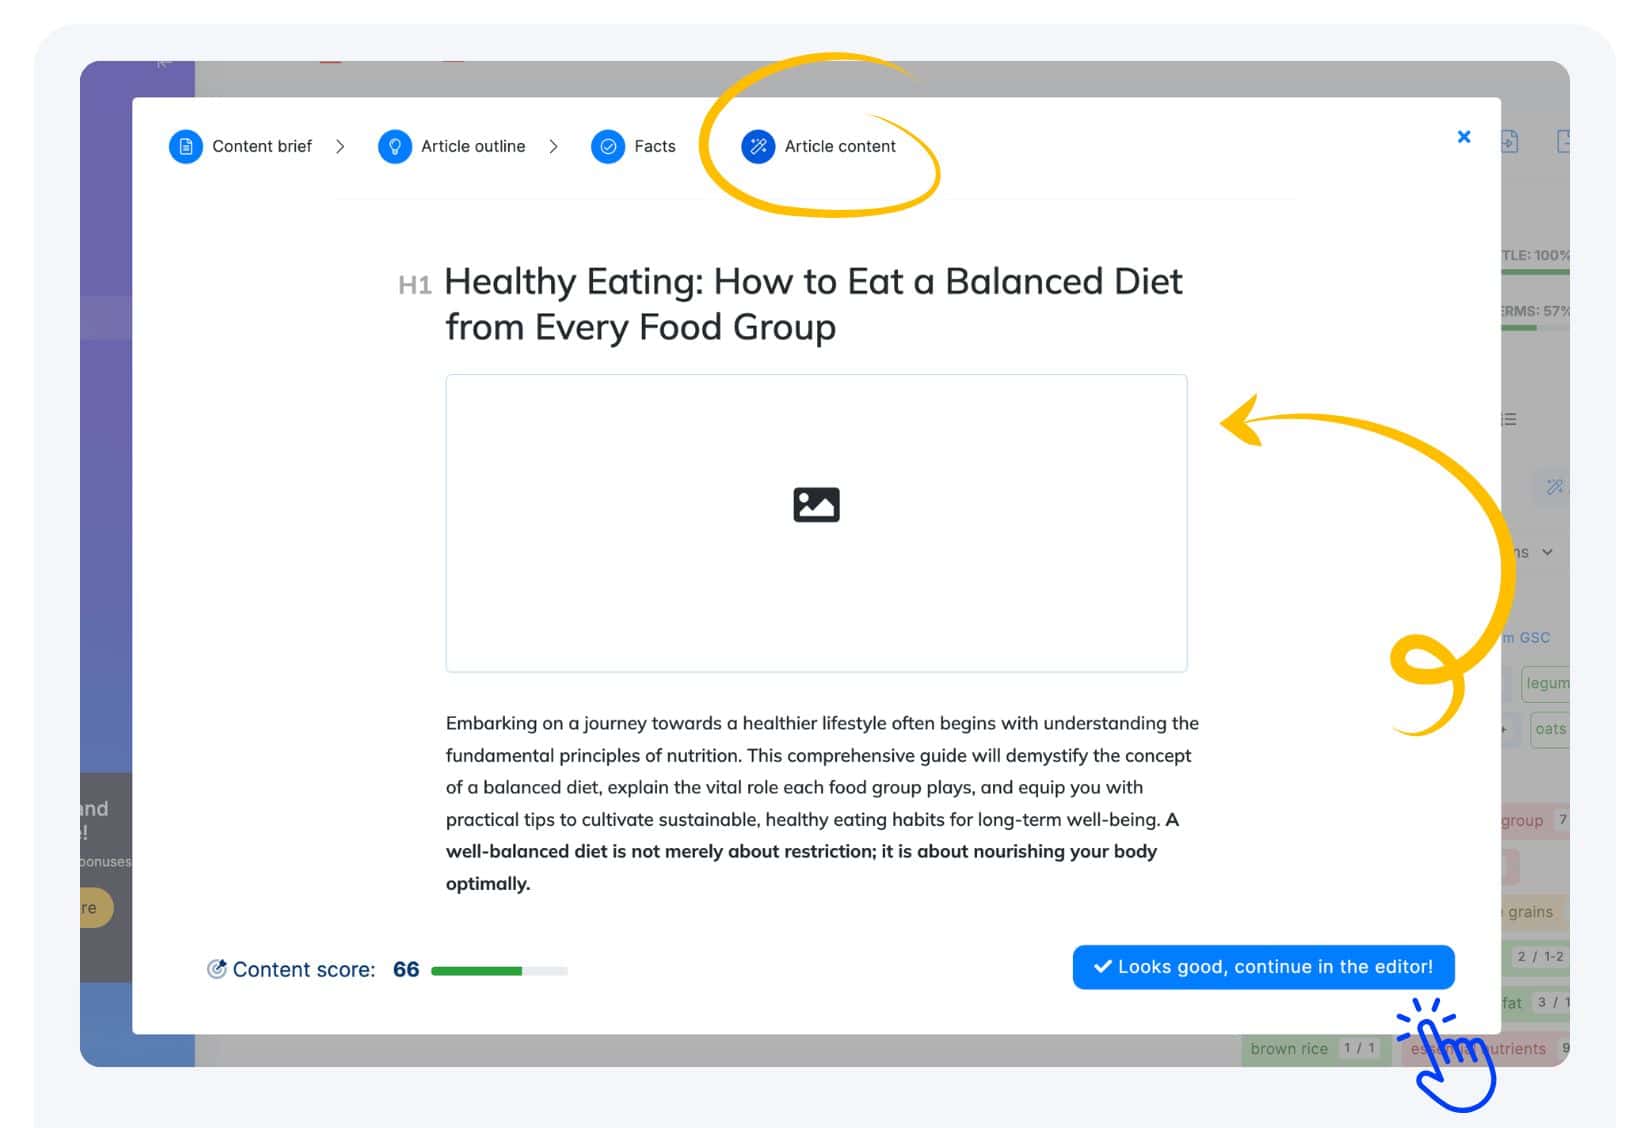
In the next step simply allow the AI to generate a complete article incorporating those facts by clicking ” Generate Article “
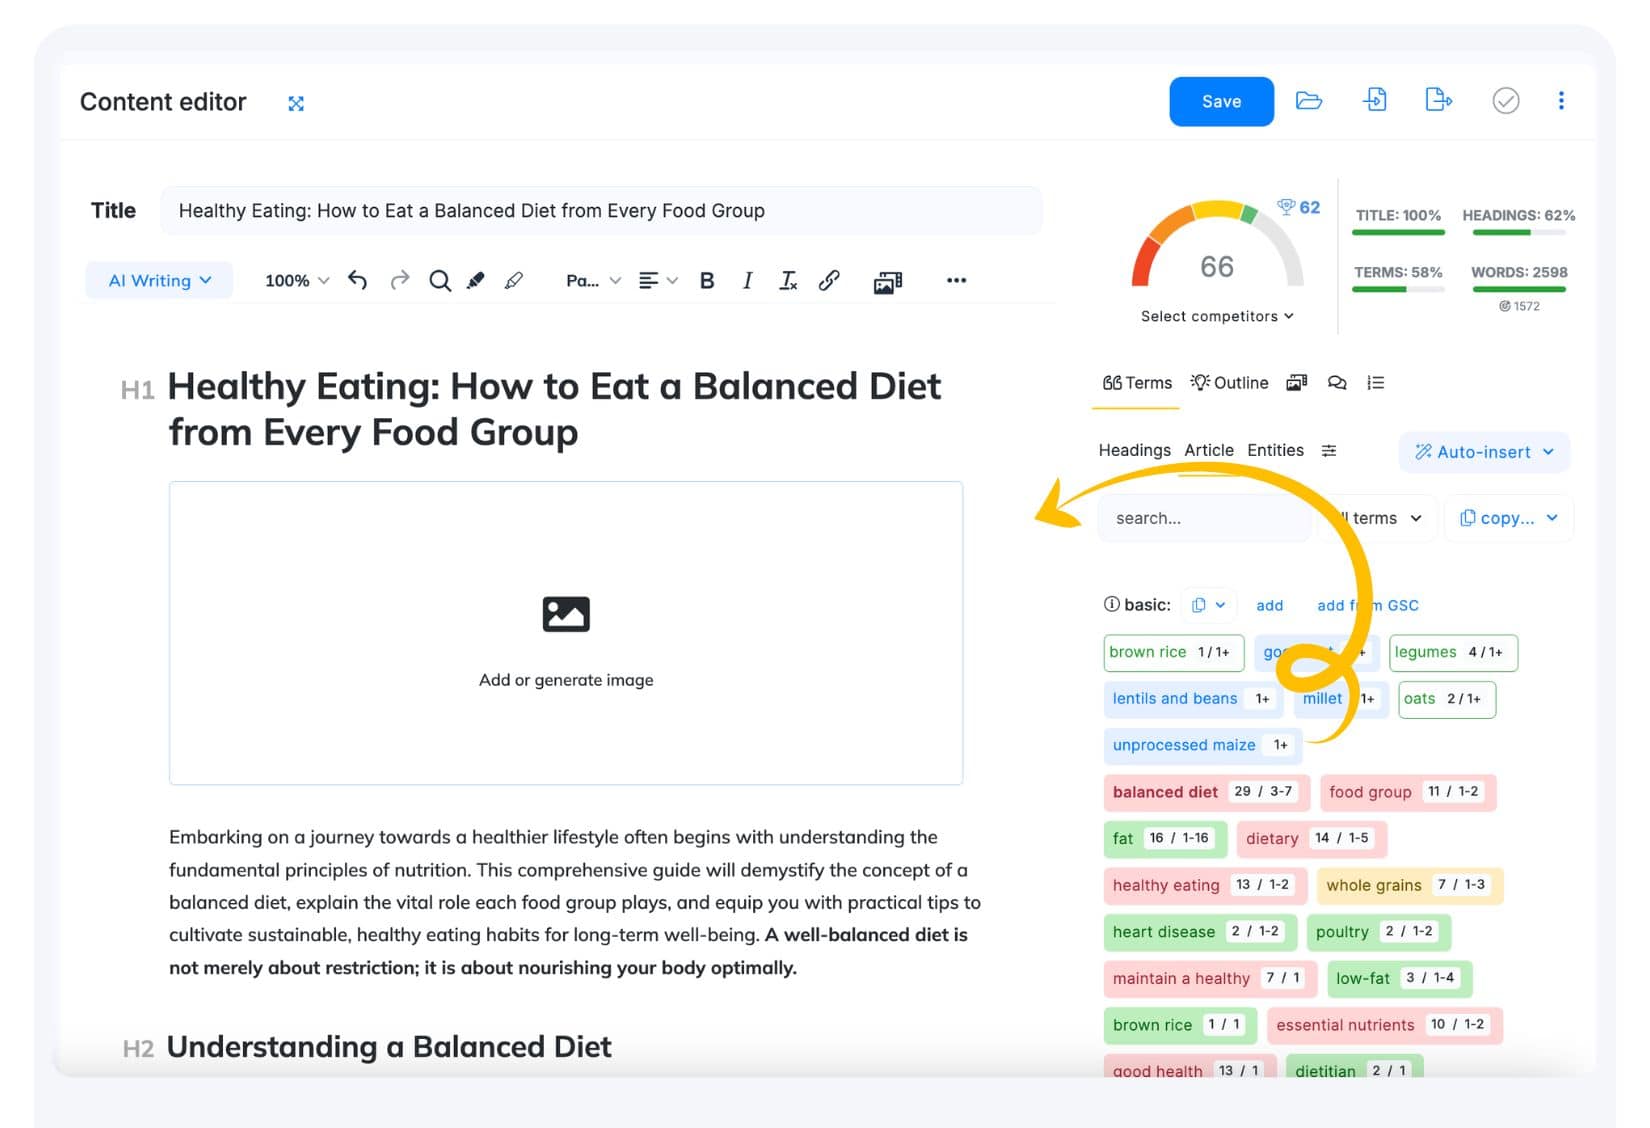
4. Get high-quality article available for final touches in the “Content Editor”.
Once the article is ready it can be enriched by adding links and change placeholders into relevant images with our Media section.